Table Of Content
Therefore, filter and improvise this tutorial, or any tutorials you find. Whether your style is the simple one, or the extravagant one… just ADJUST to your tastes, your way, your brush, and your style. I added more depth to this character's hair and slightly brighten the highlight.
How to Draw Natural Looking Hair Step by Step
The four step approach that we explored above can also be used for a single lock of hair... For each layer of graphite that we apply, we'll use a blending stump to work the medium into the tooth or texture of the paper. This will help to create the impression of softness and smooth any inconsistencies produced by the softer graphite applications. We also know that areas that recede or are blocked from receiving light should be darker in value.
Another Example - Step by Step
Why Women in Art History Rarely Have Body Hair - Artsy
Why Women in Art History Rarely Have Body Hair.
Posted: Fri, 17 May 2019 07:00:00 GMT [source]
We can keep doing this until we come to the moments of overlapping. Remember that the hair generally is exposed to light until it overlaps with other clumps of hair. These are the moments when our strokes become harder. On the other hand, straight hair has serene, calm, simple and maybe elegant lines. I am going to use the value scale to define details and give a 3D effect to the hair shapes. • The volume varies depending on the amount of hair on each side of the head (3).
Step 14
These stray hairs can be made with quick deliberate marks with a sharpened HB pencil. We understand forms because of the manner in which light interacts and behaves on them. Therefore, we understand forms in a drawing through the use of value. The placement of dark and light values on a subject inform us of the intensity of light and the nature of the form. We'll draw the contour lines lightly and loosely with a harder and lighter, 2H pencil. We're careful not to place too much pressure on this harder pencil as this can lead to indenting in the surface of the paper.
Step 11

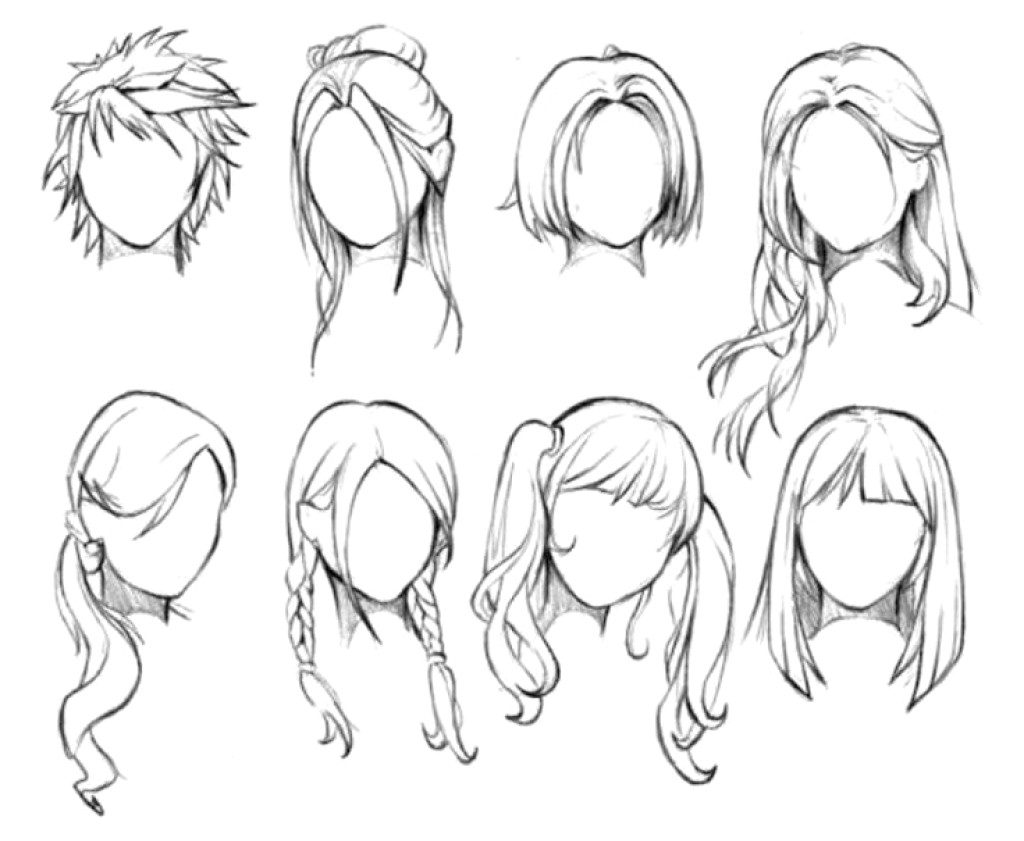
Draw the direction of the strands all over the head. This will give the hair some detail and add depth to the whole haircut. Don't press too hard, and don't make the lines too tight. To follow this tutorial, you'll need some kind of head base.
Marking a reference point or a route which divides the hair can help us. From there, it becomes easier to see the direction that each section will take (2). Shade the whole haircut now, drawing curls all around. Afro-textured hair has a lot of curly strands and texture.
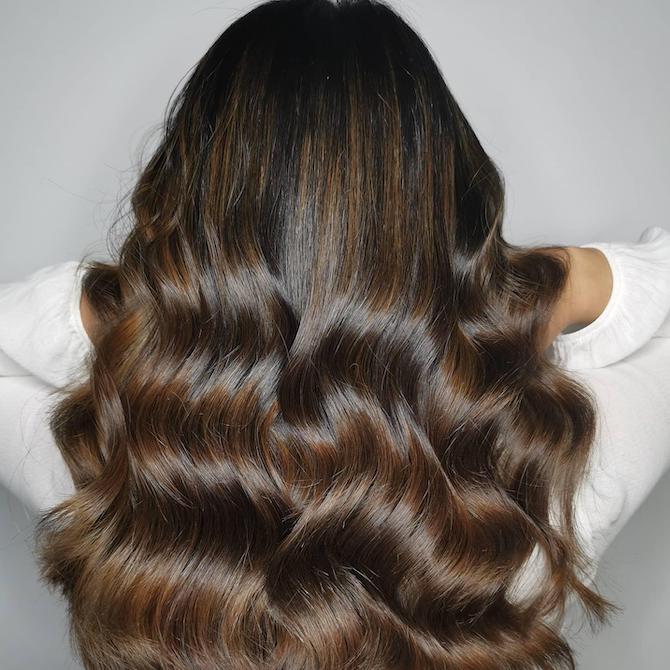
Well, the results may be different, but the thought process is the same. We'll still need to start with the overall shape of the hair. Curly hair tends to have more stray hairs that find their way outside the confines of the general shape. For this reason, we'll concentrate on drawing the shape without all of the stray hairs.
Drawing Hair - The Four-Step Approach
The point is that we need to analyze the source image of the hair we draw and then apply the principles of lines to the shape. The best idea is to do an outline of the hair and then slowly apply lines in the different hair segments or shapes in the hair. Then we shade the hair where there are overlapping moments or intertwined moments to give the hair a sense of volume.
So, using the pen of your choice, trace over the graphite marks. If you want line variation then use a couple of technical pens with different-sized nibs or a brush pen. Draw a line from the hairline to the back of the head to create the hair part (this can be center or to the side somewhere). Using the same rolling shapes as before, fill out the rest of the hair until you reach the back of the head.
Hanahana Beauty Founder Abena Boamah on Growing Her Business and Drawing Hair Inspiration From Her ... - Yahoo Life
Hanahana Beauty Founder Abena Boamah on Growing Her Business and Drawing Hair Inspiration From Her ....
Posted: Wed, 31 Mar 2021 07:00:00 GMT [source]
The action should be guided by the source image’s depiction of shadowing in the hair. These segments, within the source image, are broken up by the shadows in the hair. Try to follow your intuition when drawing shadows and highlights for hair. “Lighting” is an extensive and super interesting topic, and I am afraid that what I explain here is not enough to cover it! I’d recommend researching and practicing as much as possible.
It doesn't have to be an exact copy of the subject, so don't put too much pressure on yourself to make it perfect. In the example below, a combination of graphite and white charcoal is used to develop the drawing. The drawing is completed on toned paper which makes the white charcoal applications stand out. The image below is from Portrait Drawing The Smart Way. Any locations within the hair that need to be lighter can be rendered using an eraser.
Draw bigger curls within the outline, following the direction you've established before. Close the shape of each strand by mirroring its wave and adding a pointed tip. Draw the outline of the strokes surrounding the face.


No comments:
Post a Comment